How to start?
Hello, Welcome to Eurobattle.net - European Warcraft III PvPGN Server.
Install Warcraft III
{{:How to install Warcraft III]]
Install Eurobattle.net
Eurobattle.net provides its services to all users, no matter if they have a licensed copy of the game or not. If you don't have the license keys, Eurobattle.net Client will provide you with temporary ones which will let you connect to our servers.
1) Make sure that you have Warcraft III 1.28.5 or 1.26a installed on your computer.
2) Download and install Visual C++ Redistributable 2013 and Visual C++ Redistributable 2015 x86 here or from the official Microsoft site unless you have them already. These frameworks are required in order to be able to use our Client.
3) Download the newest Eurobattle.net installer
4) Unzip the installer and launch it.
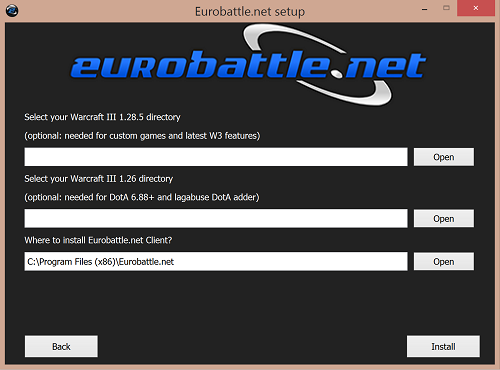
5) Progress through the installation, make sure to select the desired Warcraft III path and the path you want the Client to be installed to:
Note that the path MUST contain only English characters.
6) After the installation has been successfully completed, the Client's shortcut will appear on your desktop:
7) Launch the Client and wait patiently until it patches your game (if necessary). You might be asked to confirm the installation of patches (their size varies from ~50 MB to ~950 MB).
8) Lastly, add Eurobattle.net/gproxy.exe and Warcraft III/w3l.exe to the whitelist in your antivirus (especially Avast is notorious for removing the files silently).
In case you aren't able to connect to our servers or are experiencing other problems, check our Troubleshooting Section before posting in the Technical Support Board on forum.
Create a server account
Server accounts can only be created using a special form on our forum. Follow these simple steps in order to create an account:
1) Go to the account creation page
2) Type in your email and complete the Captcha.
Note: Disposable emails are NOT allowed. If you have a legitimate email and it still doesn't let you register, please contact us on forum and we will add it to the whitelist.
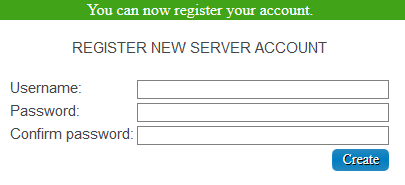
3) Check your mailbox, you should have received a confirmation email. click on the confirmation link and it will take you to the account creation form.
4) Type in the desired nickname and password.
You should now be able to login on server using the in-game form.


